The Bash Bunny is a USB attack platform developed by Hak5 a security research group specialising in the development of network/system penetration testing tools and educational content.
If you’d like to find out more information, you can find them here: Twitter | YouTube | Hak5.org
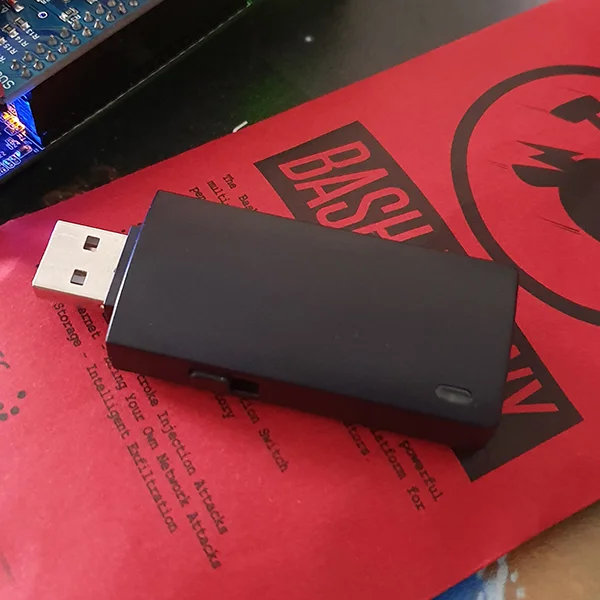
The Bash Bunny is an excellent pentesting tool. It looks like a chunky USB memory stick, however it’s really a SoC running a quad-core ARM processor running a Debian based Linux OS with a desktop class SSD for storage. It can be configured to be a HID, storage device, serial device, USB based network adaptor or all the above and be used to execute attacks for the red team, auditing for the blue team, automate IT tasks for air gapped devices and much more. The core of the Bash Bunny runs off Duckyscript, which is a very simple but useful scripting language. Here I’ll walk through my first payload, which is just an idea that I wanted to try out initially but I think it’s also a good demonstration of the the devices capabilities. You can check out my Bash Bunny payloads on GitHub.
Let’s take a look.
|
|
So right off the bat, what we have here is the beginning of a bash script. This is the first thing to keep in mind when developing with the Bash Bunny on Windows. It’s a Linux based device, running the payload.txt, so this presents some idiosyncrasies if you are used to primarily using Windows.
|
|
Here I set the location of the output directory. To the Linux OS the USB drive portion of the disk is mounted to ‘/root/udisk/’ so I map the loot/badmin directory here.
|
|
In the init stage the LED is set to ‘setup’ which is a flashing yellow pattern. The switch position is received from the device – although I don’t use it in this payload. Finally, the attack mode is set to ‘HID’ and ‘STORAGE’. This means that to Windows it appears as a standard USB drive and can function as a keyboard. The keyboard bit is important as Windows inherently trusts keyboards and other human interface devices. It also means we can send keystrokes to the OS quicker than a human.
|
|
Very simple this bit. The Linux command for creating the loot directory which was set as a variable earlier in the script.
|
|
Here’s the important bit: the attack. So here the Windows run dialogue box is executed with ‘RUN WIN’ and then in double quotes is the command we want to run. What the command does is use PowerShell to launch another PowerShell process as Administrator. It then waits 3 seconds.
|
|
If the user has admin rights to the device, the UAC prompt will appear, the keys ALT and Y are sent to accept the UAC dialogue box. We now have an elevated PowerShell prompt. Q is an alias for QUACK which is the command for sending keyboard inputs.
|
|
Using QUACK STRING we can type a string into PowerShell. However, because this is bash sending keys to PowerShell, we need to use some escape characters, so bash doesn’t misinterpret what we’re sending. What we’re sending here is a variable to a path so we can run a script. Because PowerShell and bash both share ‘$’ the dollar sign as a variable punctuation character, we need to use ‘\’ the backslash to escape it. The rest of the line is standard PowerShell for using Get-WMI to get a device with the name of Bash Bunny and then the path to the script we want to run. We do this so we don’t need to worry about which drive let the USB drive gets. Finally, we use QUACK to send the Enter key to execute to command.
|
|
We wait 1 second, just in case – this could be shorted to milliseconds or possibly removed although to speed up the script. We then send the keystrokes to run the script in the $src variable we specified just now.
|
|
We then send a QUACK string of exit and an ENTER to close the PowerShell window.
|
|
Finally, this command makes the LED flash green to signify that the script is complete.
So, we just got Windows to open an admin level PowerShell and run a script. Let’s go through the script we ran.
|
|
So first we set our variables for the log file.
|
|
We then set some variables with information for the new users we’re going to create.
|
|
Before we go any further, we run a command that clears the run window memory. Cleaning up after ourselves.
|
|
The local admin account in Windows 10 is disabled by default, this command enables it. If the account is already enabled, it continues silently. Whether the account was enabled or not, we then set the password to whatever we want.
|
|
Just in case we create our own admin user with a password of our choosing.
|
|
Next, we enable Remote Desktop if it isn’t already. We then disable Network Level Authentication and enable the Remote Desktop group in the Windows Firewall.
|
|
All the last section is recording whether our operations were successful or not. I also output the contents of the IPConfig /all command just so we have full networking information about the device as well. The log file saved to the USB storage device as a txt file and is named after the computers name and the time and date stamp including seconds. That’s my first payload. You only need a few seconds of access to device to execute it. There are several things that could be done better and ways to speed it up but I think it’s a good demonstration of the Bash Bunny. The device can do a lot more - cracking passwords from locked Windows devices, exfiltrating files to the cloud. It’s an interesting device that I look forward to playing with more. From an IT professional perspective I think it’s very interesting to see that these devices are out there, available to buy for a reasonable amount. I’ll certainly think twice before inserting a USB drive into my PC. :)
If you have any questions or comments, please leave them below.
-Mike